
Eyelash Extension Tutorials By LashJoy
Level Up Your Lash Skills & Knowledge for Free!

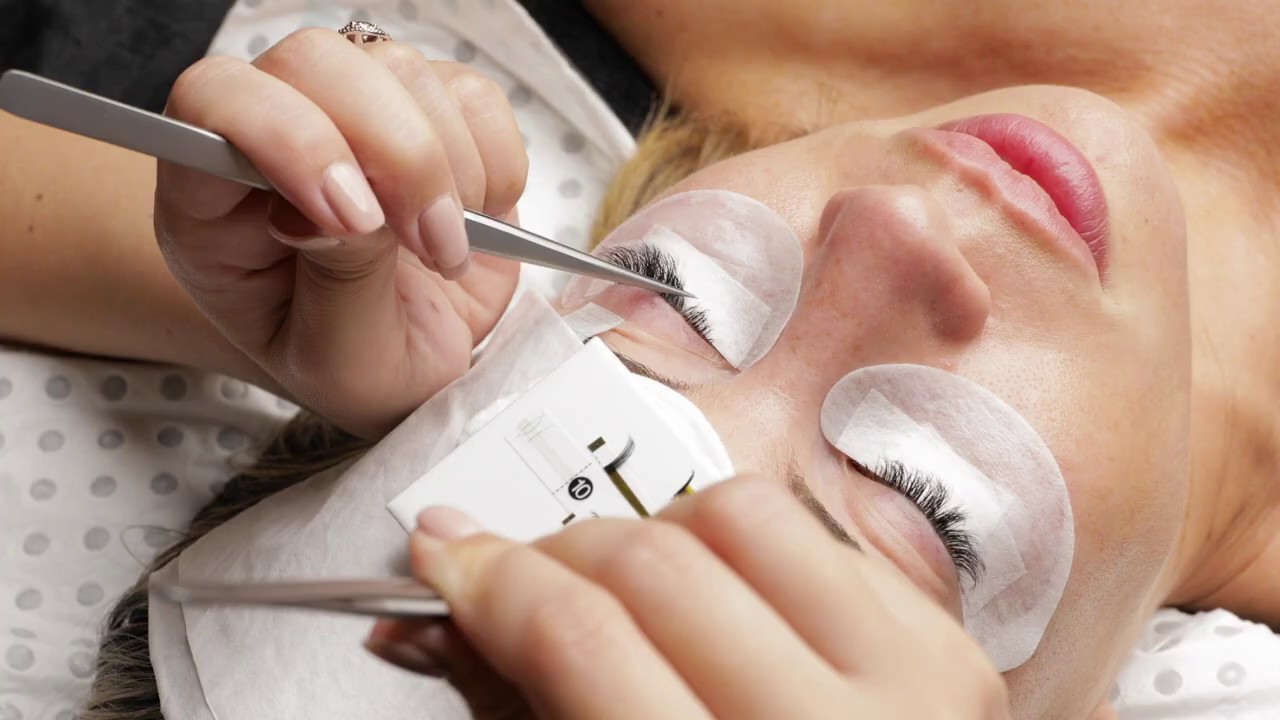
Speed Lashing Techniques Using Tape
10/8/2020
In this tutorial, Joy demonstrates a variety of techniques using micropore tape to increase your speed and significantly reduce your classic and volume lash application time.
Whilst some of these techniques may appear unorthodox, rest assured they are the result of more than a decade of testing at the highest level and most importantly... THEY WORK!
LashJoy Tweezer Range | Mini Foot + Straight SS SA
16/7/2020
In this LashJoy Academy tutorial, leading lash educator and LashJoy CEO Joy Crossingham demonstrates how to use LashJoy Mini Foot and Straight SS SA Tweezers.
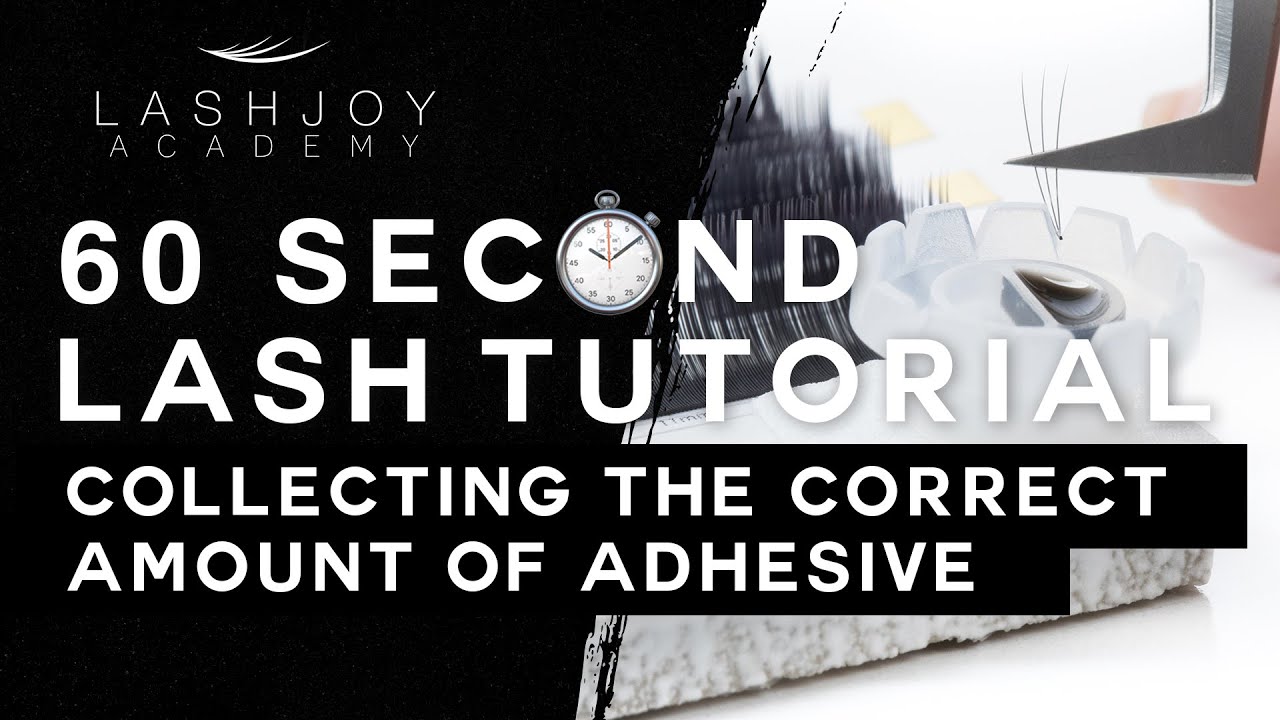
Collecting the Correct Amount of Adhesive
15/9/2020
In this tutorial we demonstrate how to ensure you always collect the perfect amount of adhesive on your extension before applying it to the natural lash which will assist with improving lash retention.
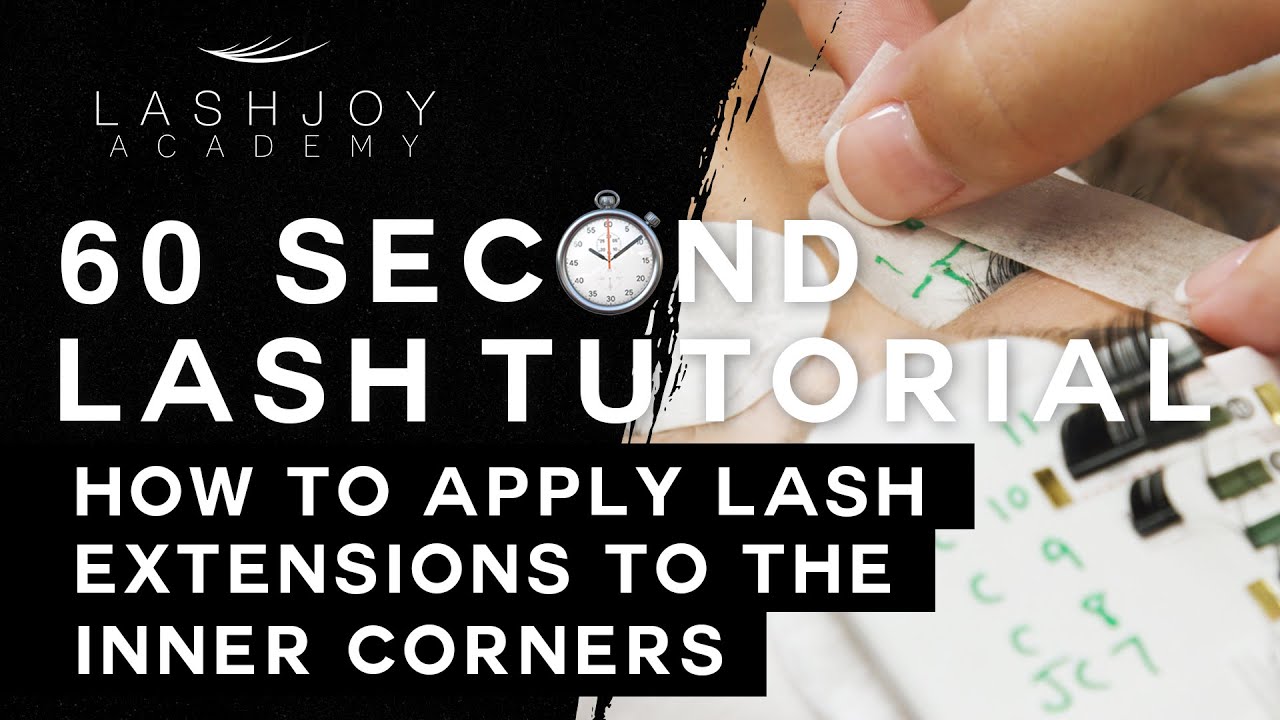
How to Apply Lash Extensions to the Inner Corners
16/6/2022
It's no secret that many Lash Stylists struggle with applying extensions to the inner corners, so in this tutorial we demonstrate a simple yet effective technique that makes lashing the inner corners so much easier!
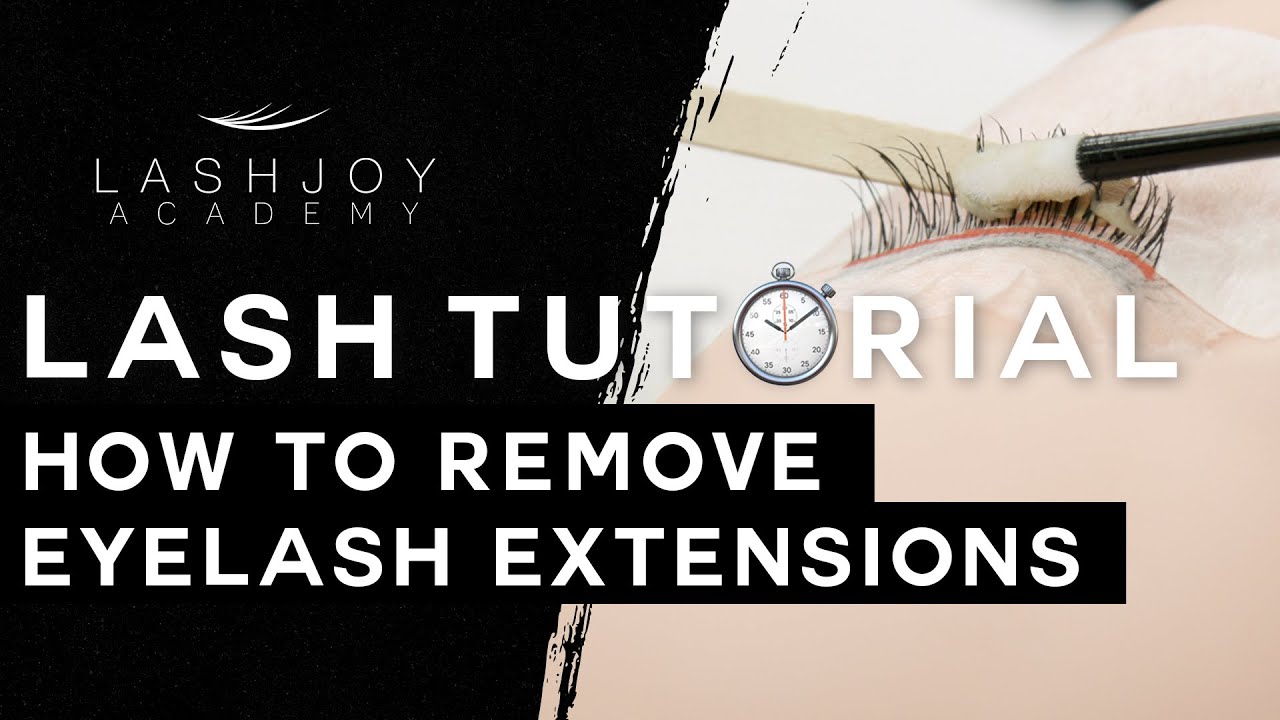
How to Remove Eyelash Extensions
4/6/2022
This video by Leading Lash Educator Joy Crossingham demonstrates the correct and safe way to carry out an eyelash extension removal service using our LashJoy Cream Remover.
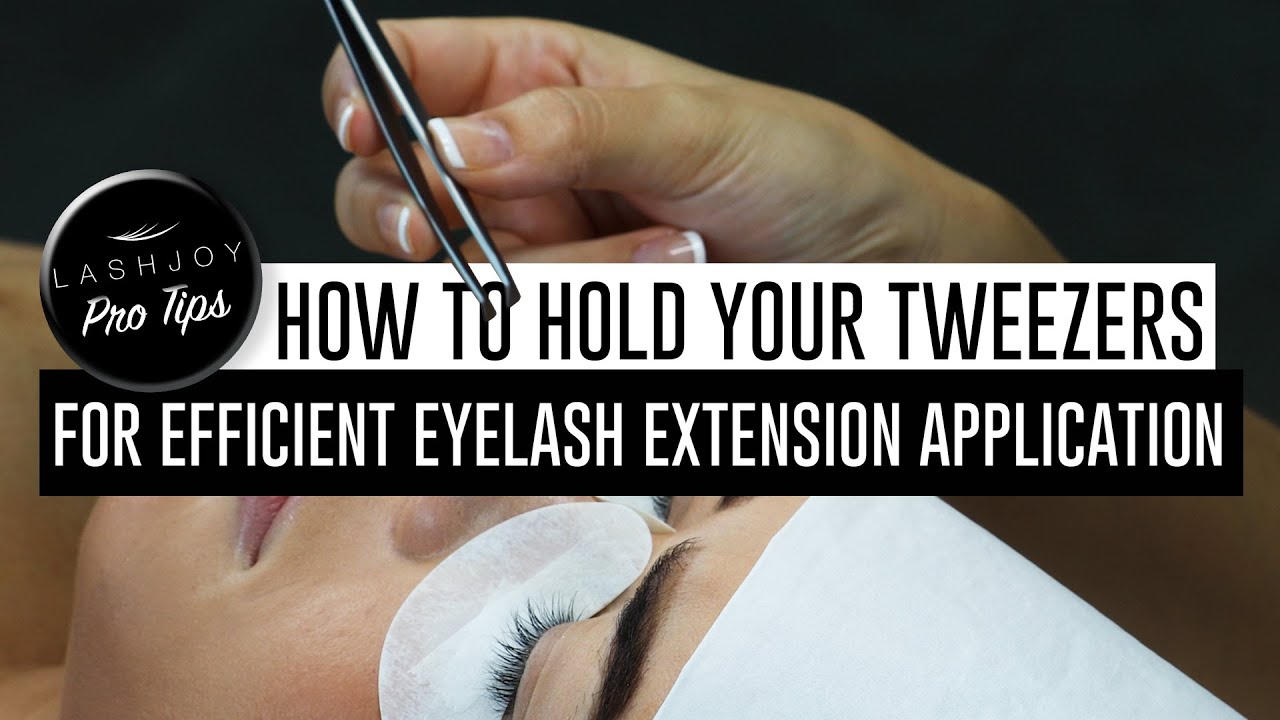
How to Hold Your Tweezers for Efficienct Eyelash Extension Application
23/1/2022
In this tutorial Joy Crossingham demonstrates her unique custom tweezer grip for precise and efficient classic and volume eyelash extension application.
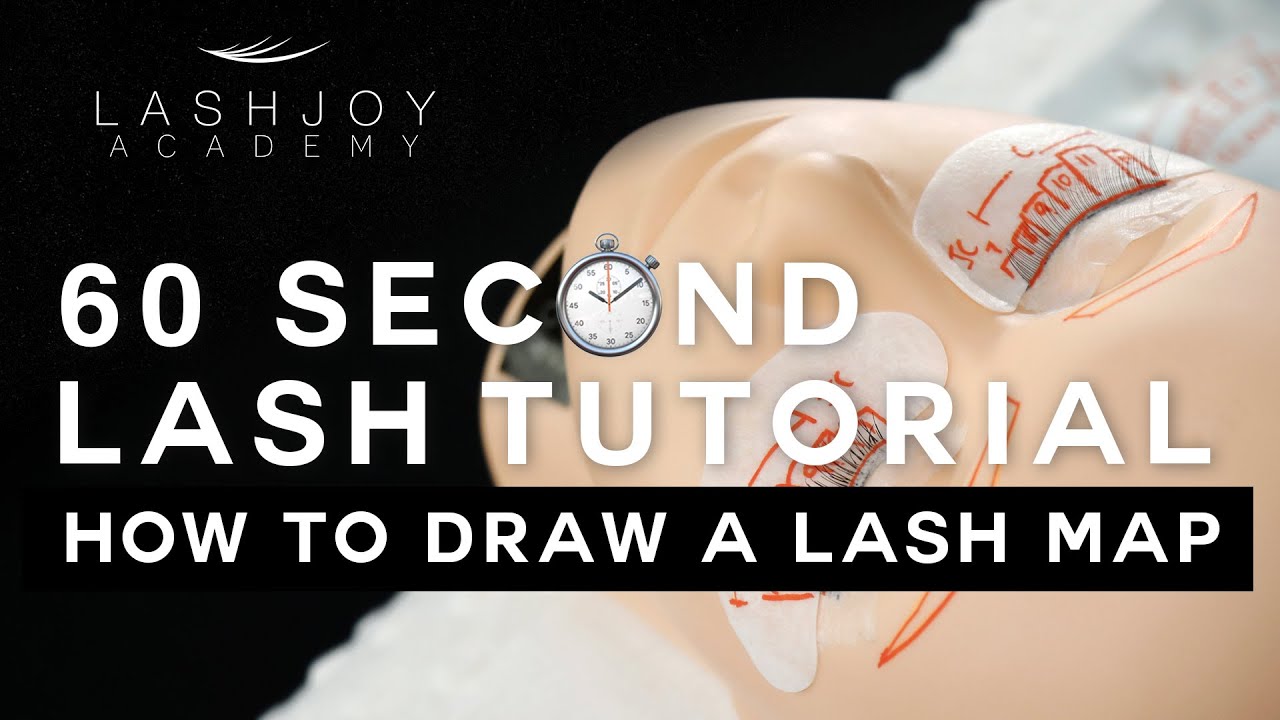
How to Draw a Lash Map [Mannequin]
1/1/2022
60 seconds lash tutorial by leading Lash Educator & LashJoy CEO @joylashstylist demonstrating how to design an “Eye Opening” lash map style which is commonly used for Asian clients or those looking for an eye opening effect.
4 Bad Habits to Avoid that Create Lash Stickies
1/1/2022
In this tutorial leading lash educator and LashJoy CEO Joy Crossingham, demonstrates 4 bad habits to avoid that cause damaging lash stickies for our clients.
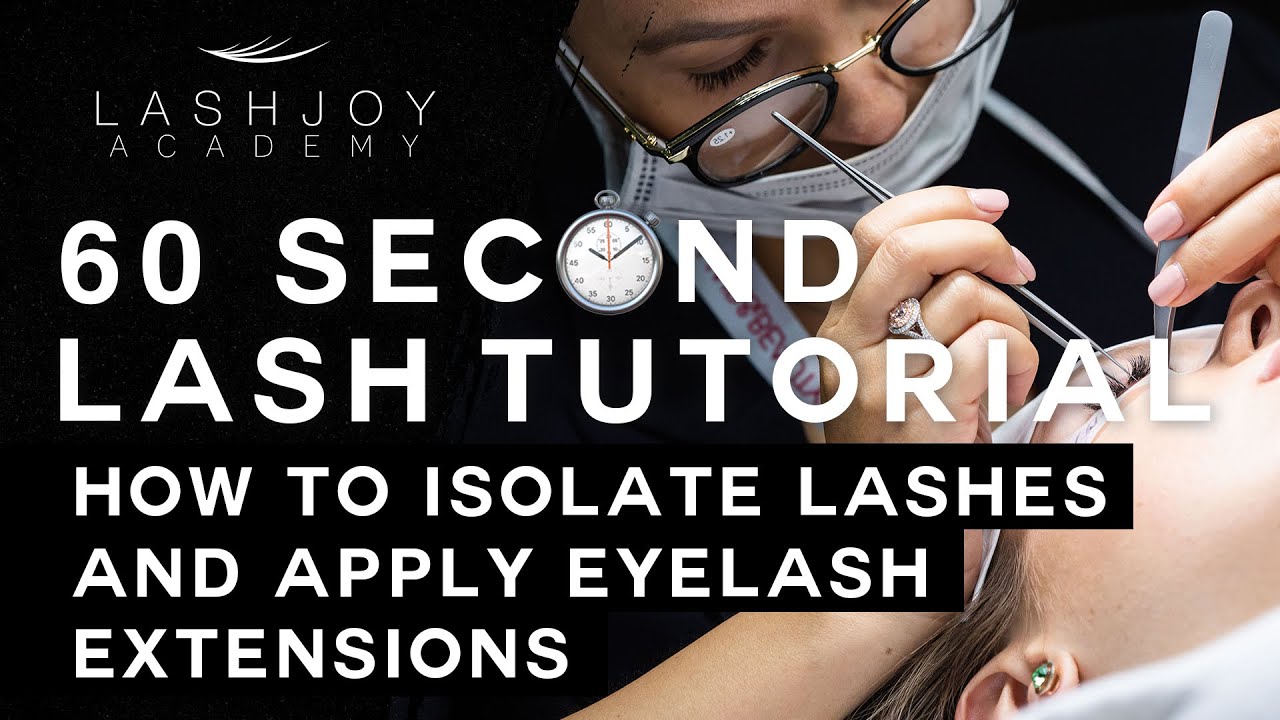
How to Isolate Lashes & Apply Eyelash Extensions
1/1/2022
Leading lash educator Joy Crossingham demonstrates her custom method for isolating and applying eyelash extensions EFFICIENTLY.
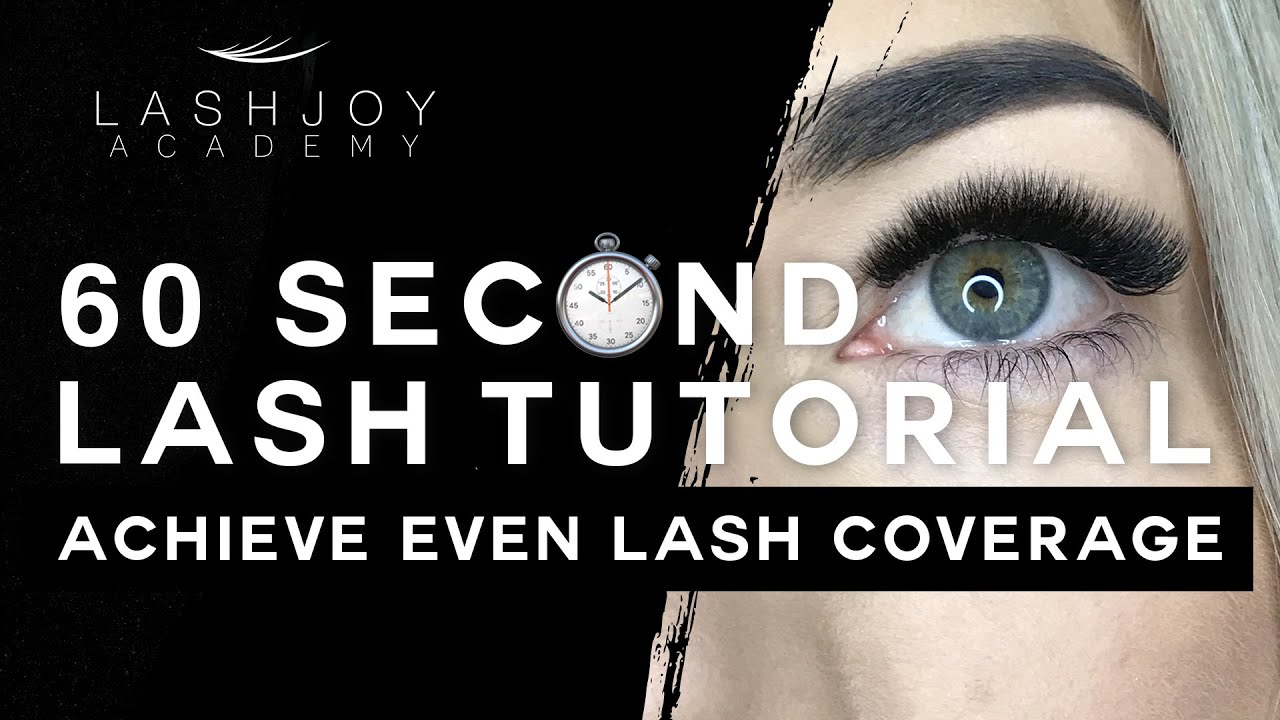
How to Achieve Even Lash Application Coverage
1/1/2022
In this tutorial, Joy applies to the outer left, then outer right, then middle left, then middle right, then inner left and lastly inner right. Repeating this sequence throughout the application.
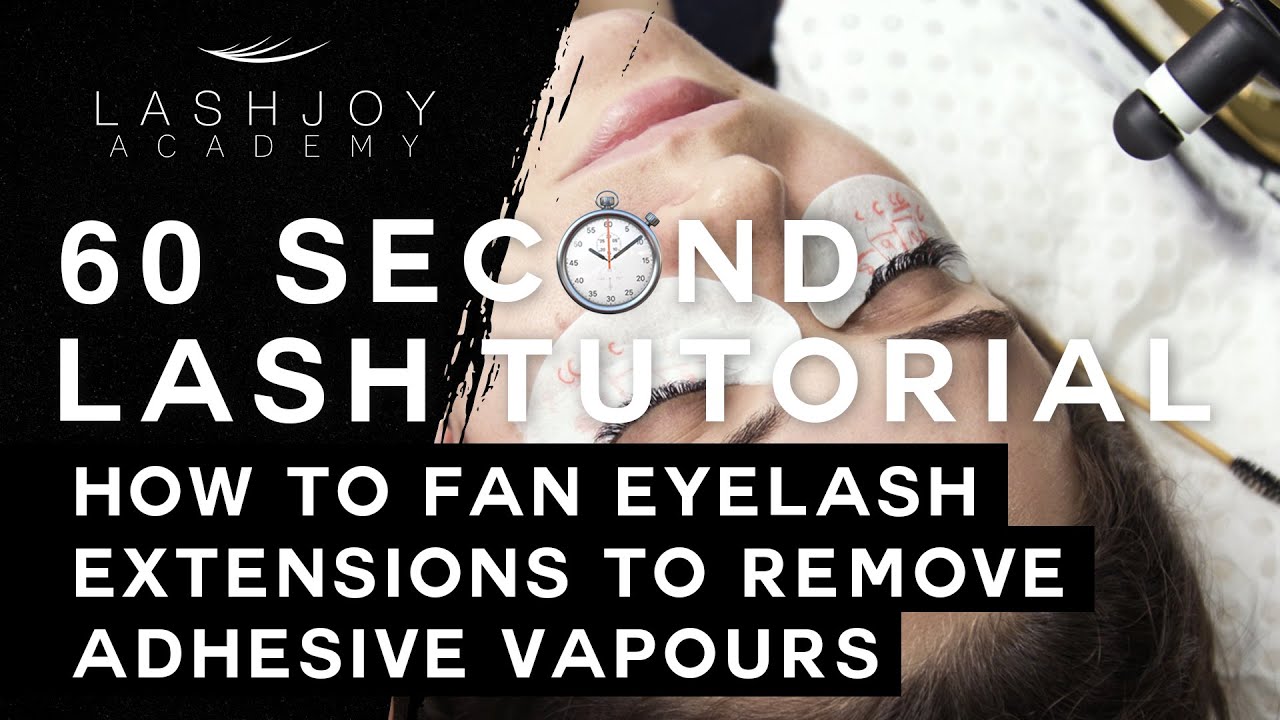
How to Fan Eyelash Extensions to Remove Adhesive Vapours
1/1/2022
Joy Crossingham demonstrating how to remove adhesive vapours at the end of an application that may cause the eyes to sting and tear up.
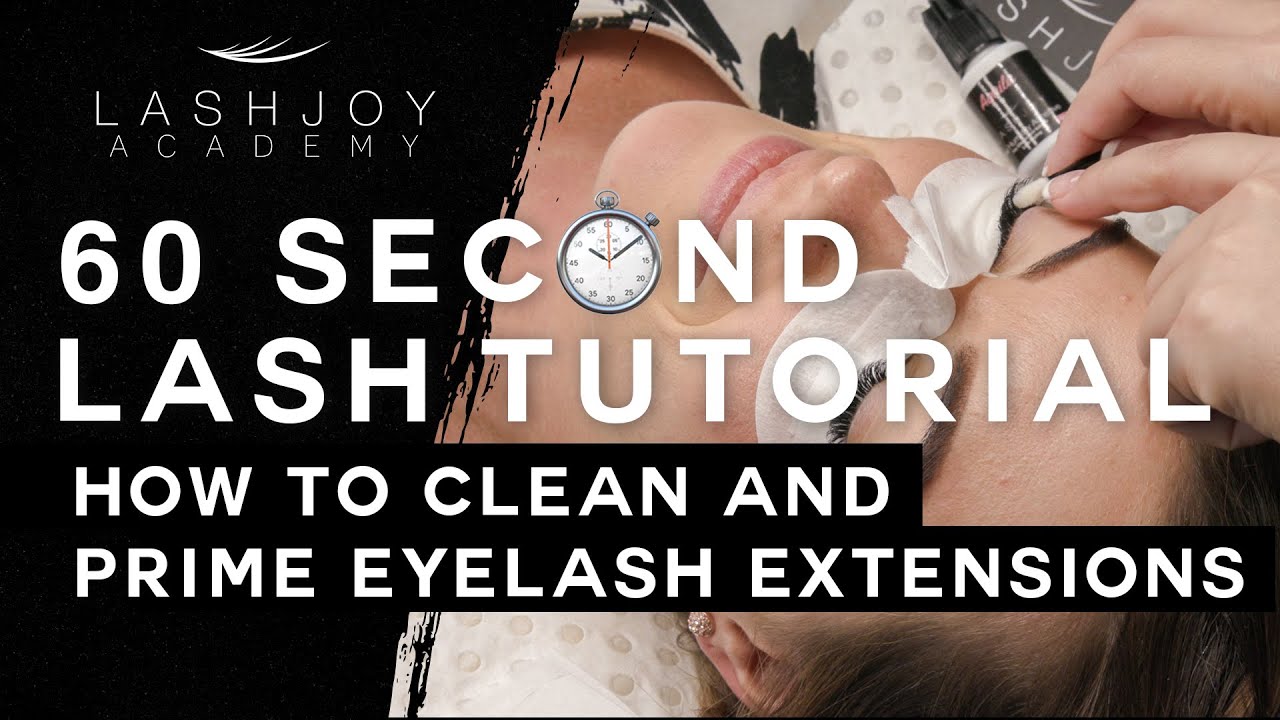
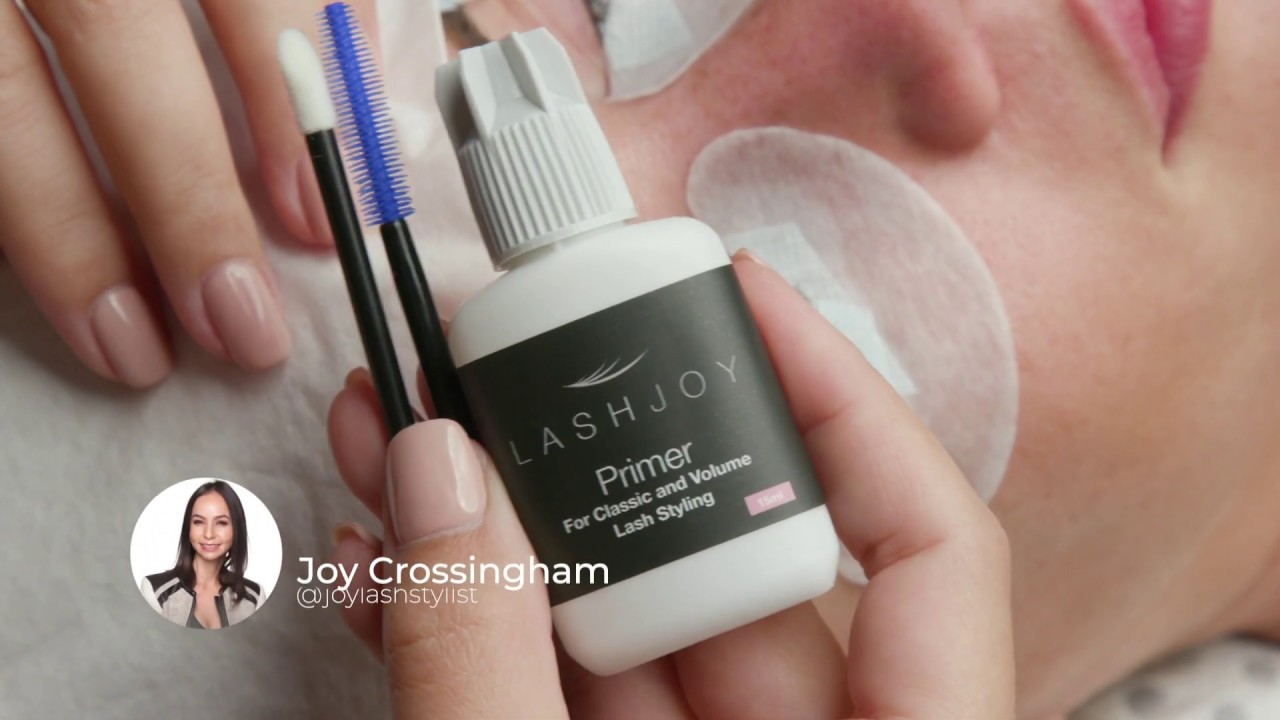
How to Clean & Prime Eyelash Extensions
1/1/2022
In this episode of our 60 Second Lash Tutorial Series you'll learn Joy's unique method for preparing her client's natural lashes using Witch Hazel & LashJoy primer for optimum retention.
Learn how to apply eyelash extensions with LashJoy Academy
1/1/2022
Since 2015 Joy has facilitated more than 150 live training courses all over Australia and Asia teaching in excess of 1,000 students and creating countless award-winning Lash Stylists along the way.
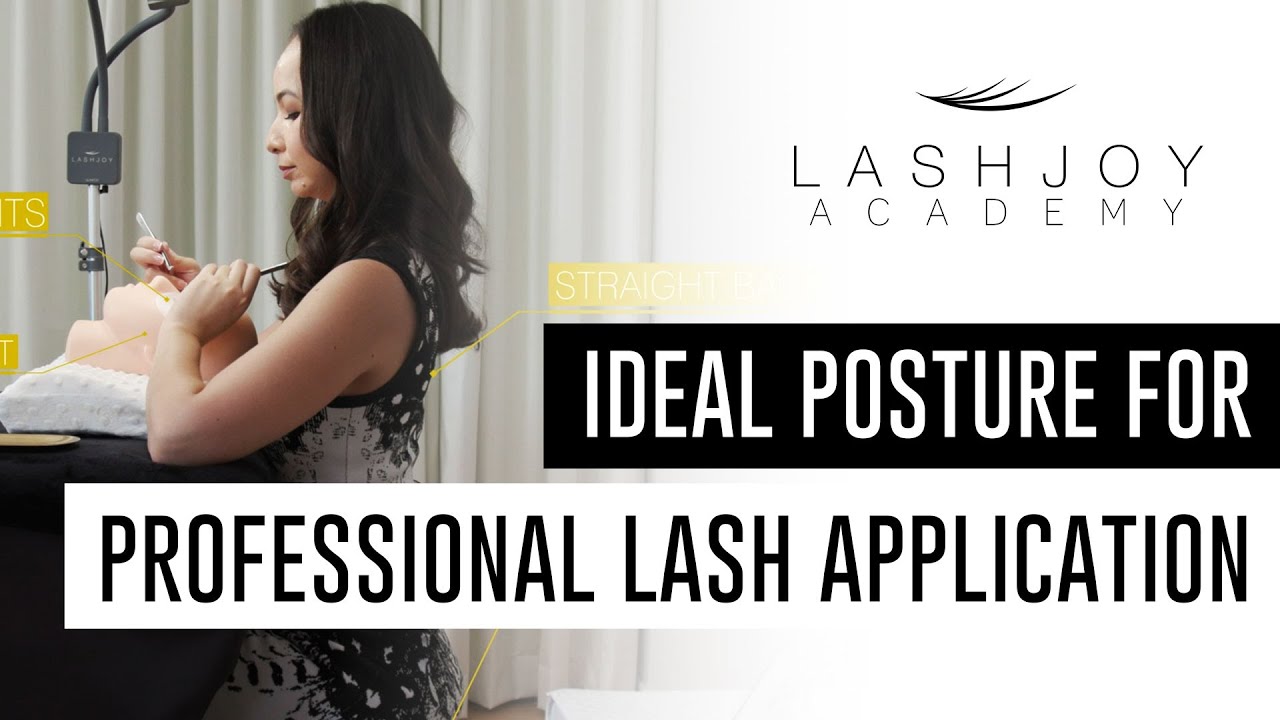
Ideal Posture for Eyelash Extension Application
20/1/2019
Mini Lash Lesson taken from the 90-minute masterclass the blueprint to becoming a lash master presented by internationally awarded Lash Educator and LashJoy CEO, Joy Crossingham at the 2018 Brisbane Hair and Beauty Expo.
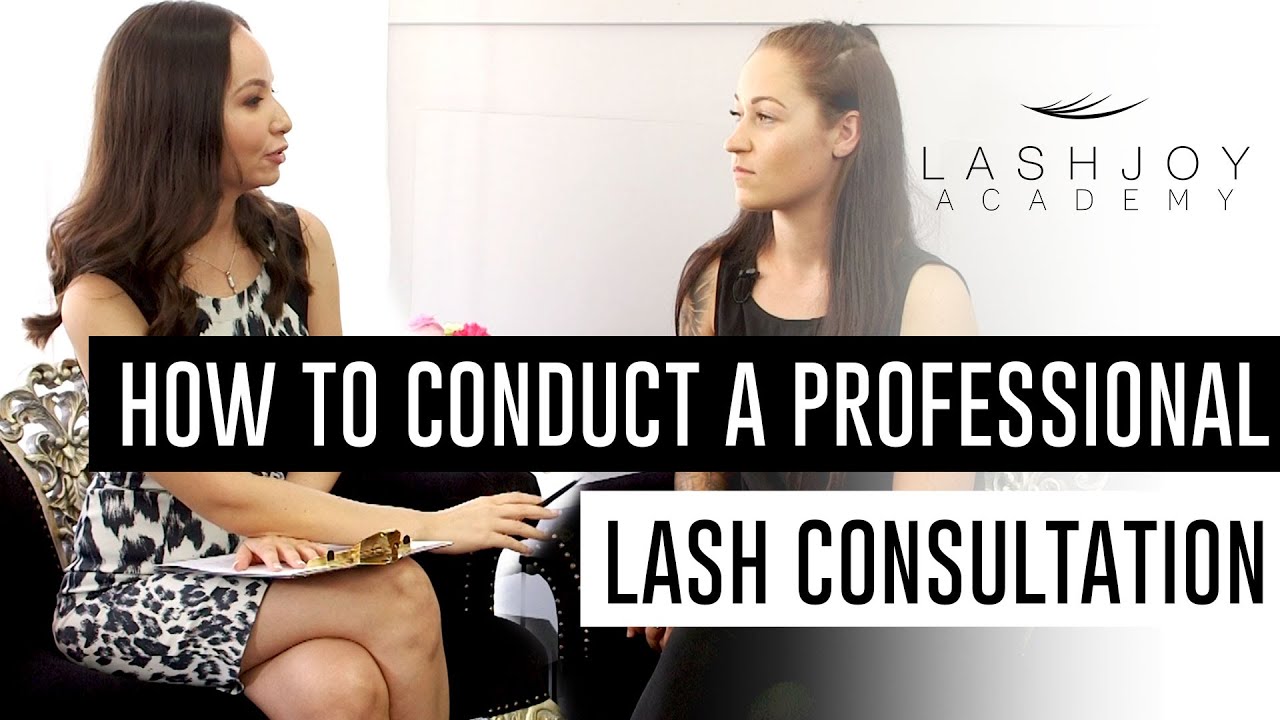
How to Conduct a Professional Lash Consultation
1/6/2018
Mini Lash Lesson taken from the 90-minute masterclass the blueprint to becoming a lash master presented by internationally awarded Lash Educator and LashJoy CEO, Joy Crossingham at the 2018 Brisbane Hair and Beauty Expo.

Stop Charging by Weeks for Your Refills!
1/1/2019
Mini Lash Lesson taken from the 90-minute masterclass the blueprint to becoming a lash master presented by internationally awarded Lash Educator and LashJoy CEO, Joy Crossingham at the 2018 Brisbane Hair and Beauty Expo.
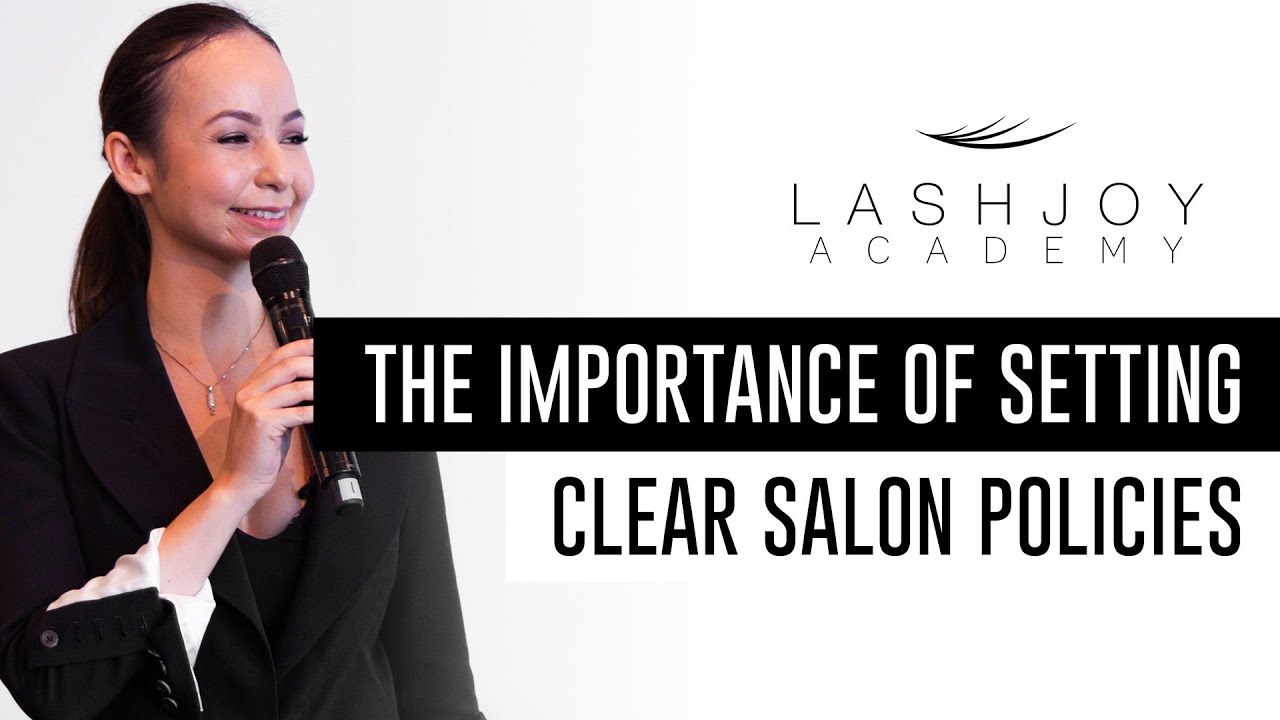
The Importance of Setting Clear Salon Policies
1/1/2019
Mini Lash Lesson taken from the 90-minute masterclass - the blueprint to becoming a lash master, presented by internationally awarded Lash Educator and LashJoy CEO, Joy Crossingham at the 2018 Brisbane Hair and Beauty Expo.
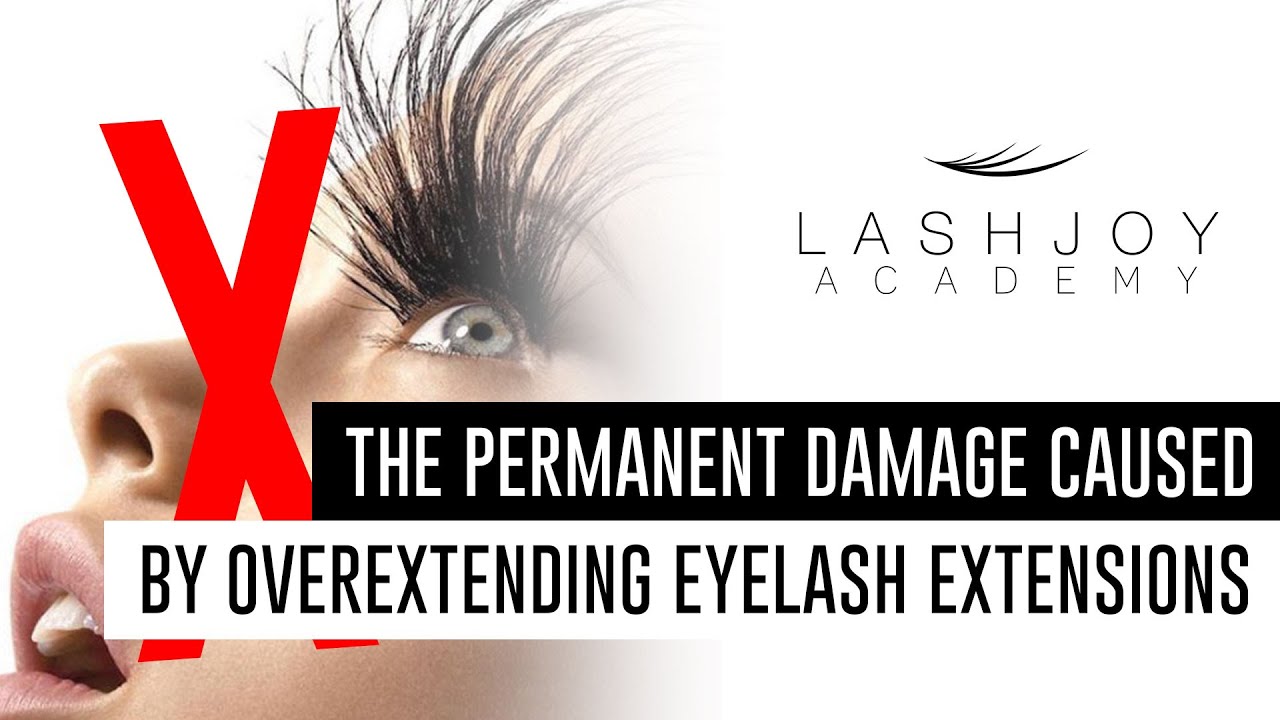
Why You Should Never Overextend Your Client's Lashes
1/1/2019
Mini Lash Lesson taken from the 90-minute masterclass - the blueprint to becoming a lash master, presented by internationally awarded Lash Educator and LashJoy CEO, Joy Crossingham at the 2018 Brisbane Hair and Beauty Expo.
How to Correctly Price Your Lash Removals
1/1/2019
Mini Lash Lesson taken from the 90-minute masterclass - the blueprint to becoming a lash master, presented by internationally awarded Lash Educator and LashJoy CEO, Joy Crossingham at the 2018 Brisbane Hair and Beauty Expo.
Why We Can Never Let Our Client's Leave with Stickies
1/1/2019
Mini Lash Lesson taken from the 90-minute masterclass - the blueprint to becoming a lash master, presented by internationally awarded Lash Educator and LashJoy CEO, Joy Crossingham at the 2018 Brisbane Hair and Beauty Expo.
Common Lash Priming Mistakes (and how to fix!)
1/1/2021
In this LashJoy Academy tutorial, leading lash educator and LashJoy CEO Joy Crossingham demonstrates common mistakes many Lash Stylists make when priming their clients lashes, and how to prime correctly for long lasting lash retention.
Using 2 Different Tapes for Efficient Lash Application
1/1/2021
In this LashJoy Academy tutorial, leading lash educator and LashJoy CEO Joy Crossingham demonstrates how to use two different types of tape during a lash appointment.

My Anchor Points for Precise & Fast Eyelash Extension Application
1/1/2022
In this tutorial, leading lash educator and LashJoy CEO, Joy Crossingham, demonstrates her custom anchor points for fast and precise application and WHY they are so important.
You may have heard the saying “to change the big things, you first must change the little things”💡Well, this couldn’t be more true if you’re ever to become a true “Lash Master”.
For example, by simply changing something small like mastering your anchor points, you can actually change the “big” things that every Lash Stylist cares so much about, such as being able to:
1. Apply Lashes Faster
2. Create Less Stickies
3. Have Better Attachment
4. Improve Lash Retention
5. Safer Application
All of the above (plus many more) can be greatly improved by mastering something as small and basic as being as stable and comfortable as possible during your application.
Having multiple anchor points as shown in our tutorial combined with correct posture (straight back + low chair and high bed) will mean you can be comfortable for longer periods of time which in turn means less shaking when you apply which = much faster application.
Having multiple anchor points allows you to be extremely precise when applying which helps to ensure you’re not creating unnecessary stickies because you’re not hovering over the lash hoping it attaches where it’s meant to. This also helps to ensure your extension bases are well attached, which is a major factor in improving Lash Retention.
Btw - Forgive the “up the nose” shots but they were necessary to demonstrate the correct anchor points! 😂 luckily, our lash model Ash has a lovely nose, too!
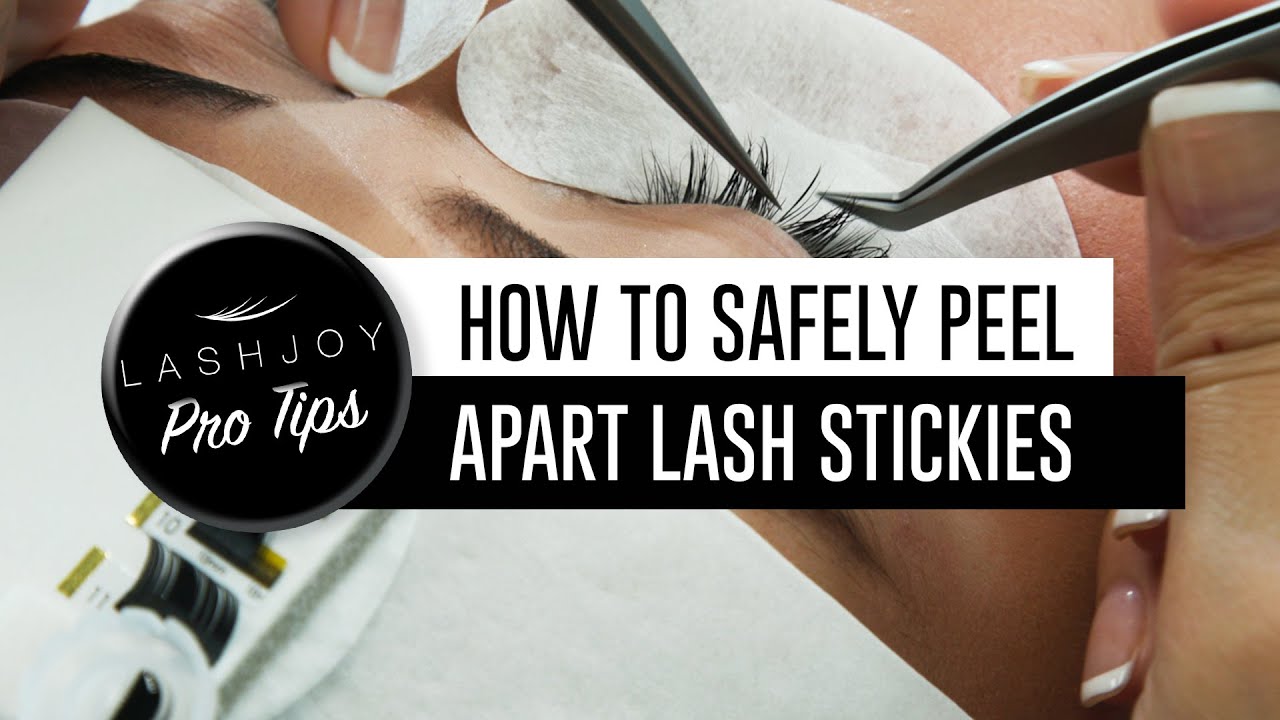
How to Safely Peel Apart Lash Stickies
1/1/2021
In this tutorial, LashJoy educator Joy Crossingham demonstrates how to check for lash stickies and effectively remove them to ensure your clients always leave with damage-free lashes. Stickies can occur even for experienced Lash Stylists (finding a few is normal), but what sets great Lash Stylists apart is their commitment to not letting clients leave with stickies.
If you're wearing lash extensions (Classic or Volume) and experiencing itchiness, discomfort, or a tugging sensation, that is not normal and not how lash extensions should feel. It's likely that stickies are causing these issues.
Stickies can be damaging because when one or more extensions are attached to multiple natural lashes, it creates a sticky situation. The problem arises because natural lashes grow at different speeds depending on the stage of the lash growth cycle. The faster-growing lashes with extensions attached tend to pull out the slower-growing lashes they are also attached to, resulting in a damaged and patchy lash line.
This highlights the importance of correct 1-to-1 application. Here are three tips to minimise stickies:
1) Work on both eyes simultaneously rather than one eye at a time. Work in a new area for each extension you apply, allowing the adhesive extra time to set before returning to that area. For example, apply lashes to the outer right, outer left, middle right, middle left, inner right, and inner left areas.
2) Limit excessive brushing. While it can be satisfying and addictive to brush lashes during an appointment, over-brushing increases the likelihood of stickies and wastes time.
3) Baby Sit the extensions. Keep the recently applied extension isolated until you pick up the next one. These extra few seconds allow the adhesive more time to polymerise.
By following these tips, you'll ensure a smoother lash application process, minimise stickies, and create a comfortable and damage-free lash experience for your clients.

The Benefits of Working from the Forehead as a Lash Artist
1/1/2021
In this tutorial, leading lash educator and LashJoy CEO, Joy Crossingham, explains why she prefers to work from the forehead when applying eyelash extensions.
If you are used to working from the side this technique may take some adjustment to get used to and you will likely be slower in the first week or so, however if you push through this initial learning period you will never look back.
The key benefits of working from the forehead vs side application are:
- Faster Application: Due to the decrease in distance needed to travel from the lash tile to natural lash this will save you a lot of time (during a 5 minute time challenge using tape and working from the forehead, Joy's personal record is 54 correctly applied extensions in 5 minutes!)
And she thinks she can go faster!
Faster application means more clients through the door which of course means more revenue for your business.
- Improved Lash Retention: Ever wondered why your clients can consistently have poor retention one just one eye? Well, if you work from the side and are taking too long to get to the natural lash with your extension after you've dipped into the adhesive this is most likely why.
I.E. Say you work from the right hand side and you pick up an extension from your tile and then dip into your adhesive, then you start to isolate and find a naked lash on your clients left side, by the time you've done this and carried that extension over to apply, it is highly likely that the adhesive has already begun to polymerise before you attach it.
Basically a skin begins to form on the adhesive bead which means it's already semi-set and isn't at maximum strength.
Another indicator of this is when you brush through at the end and extensions start popping off. This can often mean that you took too long to apply the extension after dipping into the adhesive (or there was something slippery on the natural lash before the appointment)
These days adhesives are so advanced that under their ideal working environments they can begin to set in just 1 second, most are no more than 4 seconds.
This is why working from the forehead is so beneficial because it cuts down the distance and therefore the time needed to apply each extension.
Tip: Pick up your lash first, Isolate the naked lash, then dip into the adhesive, then apply ensuring that the base is well attached, then baby-sit (keep isolated) and repeat the process.
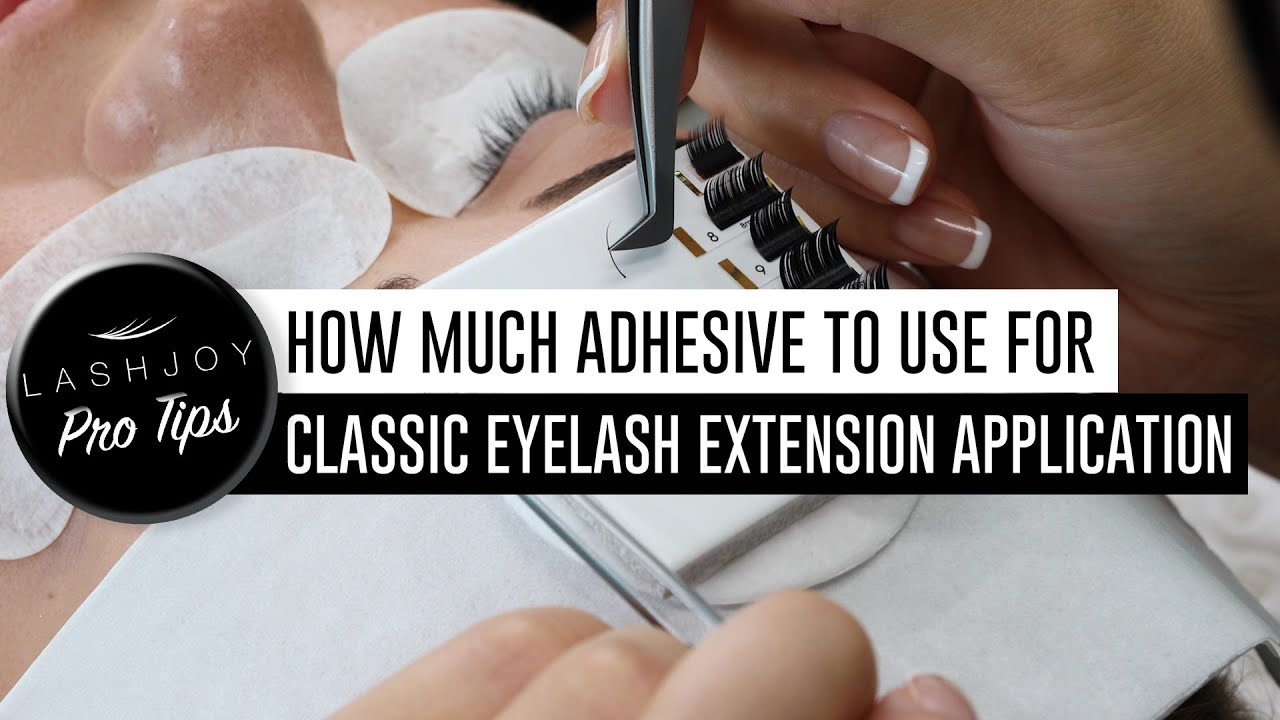
How Much Adhesive to Use for Classic Eyelash Extension Application
1/1/2021
In this tutorial, leading lash educator and LashJoy CEO, Joy Crossingham, demonstrates how to collect the correct amount of adhesive when applying classic eyelash extensions.
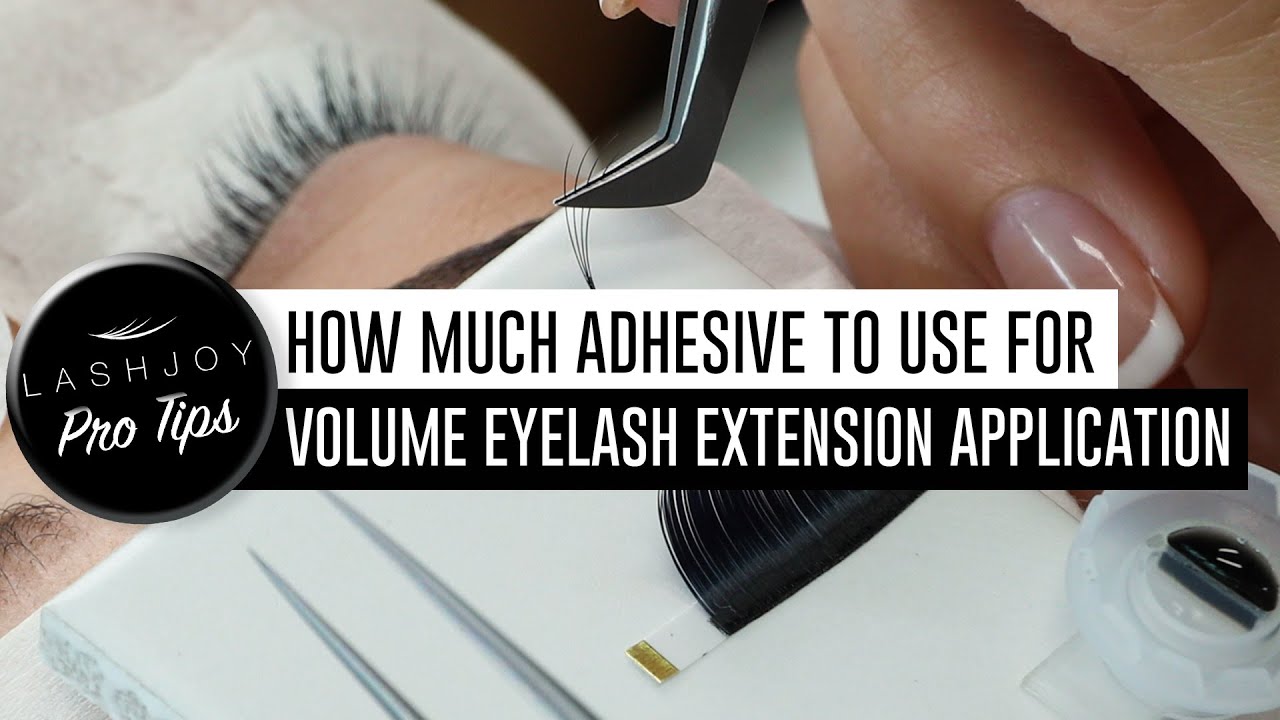
How Much Adhesive to Use for Volume Eyelash Extension Application
1/1/2021
In this tutorial leading lash educator and LashJoy CEO, Joy Crossingham, demonstrates how to collect the correct amount of adhesive when applying Volume Eyelash Extensions and how to easily correct split fan bases using the LashJoy Adhesive Cups.
Tip: By sealing the base with the SLIGHTEST amount of adhesive you will find this will help stop your volume fans collapsing on you.
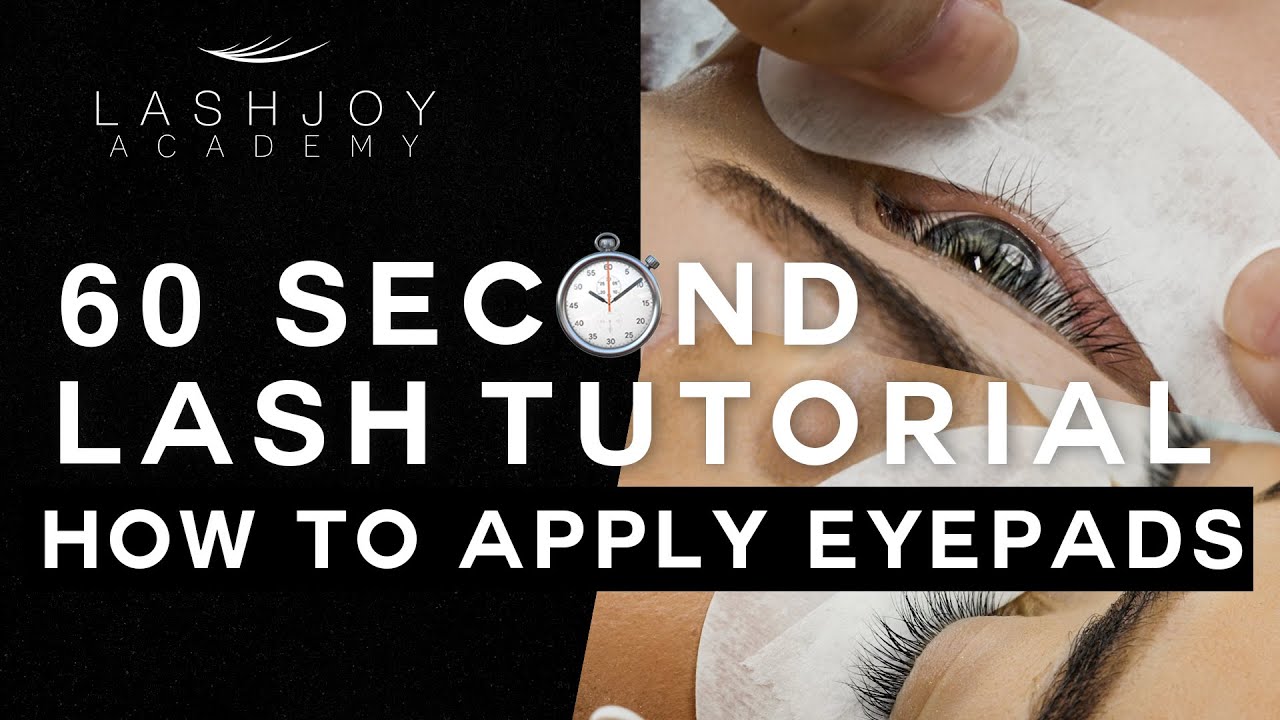
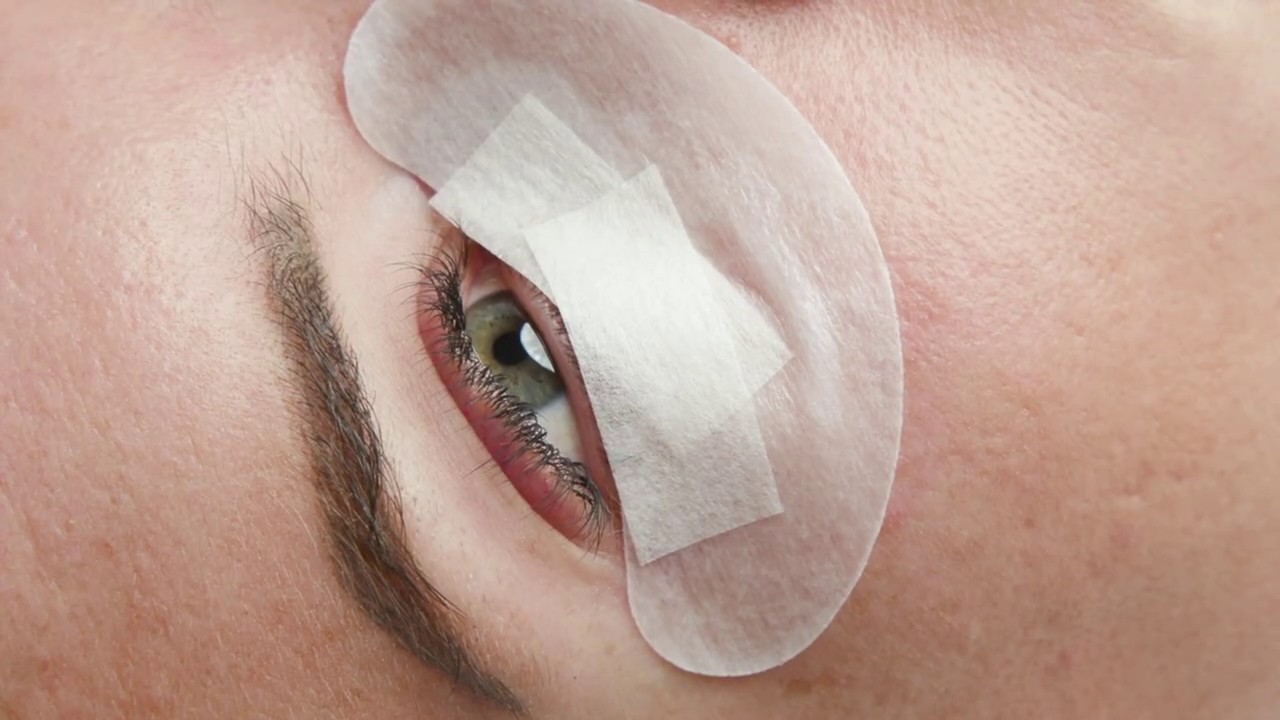
How to Apply Eyepads for Eyelash Extension Application
1/1/2021
This technique is a lifesaver for those clients with oily skin, high cheek bones or even just those that love a chat a bit too much causing the eyepads to slip and slide all over the place making you hate your life in the process!
By applying the eyepads underneath the lower lashes (not on top as most have been taught) and taping over them with a less tacky formula of micropore tape, the lower lashes act as an anchor point preventing the eyepads from slipping into the eye and causing potential irritation.
How to Achieve Even Lash Application Coverage
1/1/2021
Leading Lash Educator @joylashstylist demonstrates how to minimise stickies and ensure even coverage for every application.
In this tutorial, Joy applies to the outer left, then outer right, then middle left, then middle right, then inner left and lastly inner right. Repeating this sequence throughout the application.
By lashing side to side and in a new part of the lash line for each extension applied you greatly reduce the potential for stickies (compared with working on one eye at a time) as you’re giving the adhesive extra time to polymerise before working in that area again.
👉🏻 Reduce Stickies - even though the adhesive appears to have “set”, often it can still be a little bit tacky after application. This means if you’re working in the same area repeatedly chances are you could be accidentally pushing these lashes that aren’t completely polymerised into one another when you isolate which causes stickies (and potential damage to our client’s natural lashes if not peeled apart before the client leaves.)
👉🏻 Even Coverage - another benefit of working from side to side is that it’s much easier to achieve even coverage on both eyes and overall symmetry.
We also prefer working eye to eye just in case a client ever needs to leave her appointment early (or we run out of time ourselves) This way we never run the risk of sending her home with one eye fuller than the other!
Lash Retention Tip - Collecting the Correct Amount of Adhesive
1/1/2021
In this tutorial we demonstrate how to ensure you always collect the perfect amount of adhesive on your extension before applying it to the natural lash which will assist with improving lash retention.
Dip too fast and you’ll likely end up with too much adhesive that will not only take much longer to set, but will also greatly increase your chance of creating stickies and causing damage to your client's natural lashes.
On the opposite side, dip too slow and you’ll end up with no adhesive on your extension (or not enough) which results in extensions flicking off when you brush through, not to mention the ones that stay are unlikely to last as long as they should.
Solution: Whenever you dip and get too much or too little adhesive, before the adhesive begins to polymerise simply re-dip and try to come out at a medium speed towards you and then out to the side which will give you a nice bead of adhesive at the base of your extension.
TIP: Make sure the adhesive bead is always at the BASE of the extension and not half way up as this will result in lifting bases and poor retention.
Tip: Avoid wiping off excess adhesive on the eyepads or edge of the cup as not only will you likely remove too much adhesive, but if you’re wiping on the eyepads you’re also adding extra adhesive vapours which can creep into your clients eyes and cause irritation.
Be mindful of your lash room's temperature and humidity at all times and adjust your adhesive formula as needed (rather than trying to change your environment which is much harder to do)
A common mistake Lash Stylists can make is when the adhesive is taking too long too set (i.e their humidity is too low for their adhesive to work effectively) they will use less adhesive to try to reduce the time they need to hold the extension on the lash and help it set faster.
If you do this what ends up happening is when you brush through the lashes you'll notice lots of extensions popping off which is enough to drive any lash stylist crazy!
So, remember to use the right adhesive formula for the environment and re dip to ensure the correct amount of adhesive is at the base of the extension before applying to the lash.
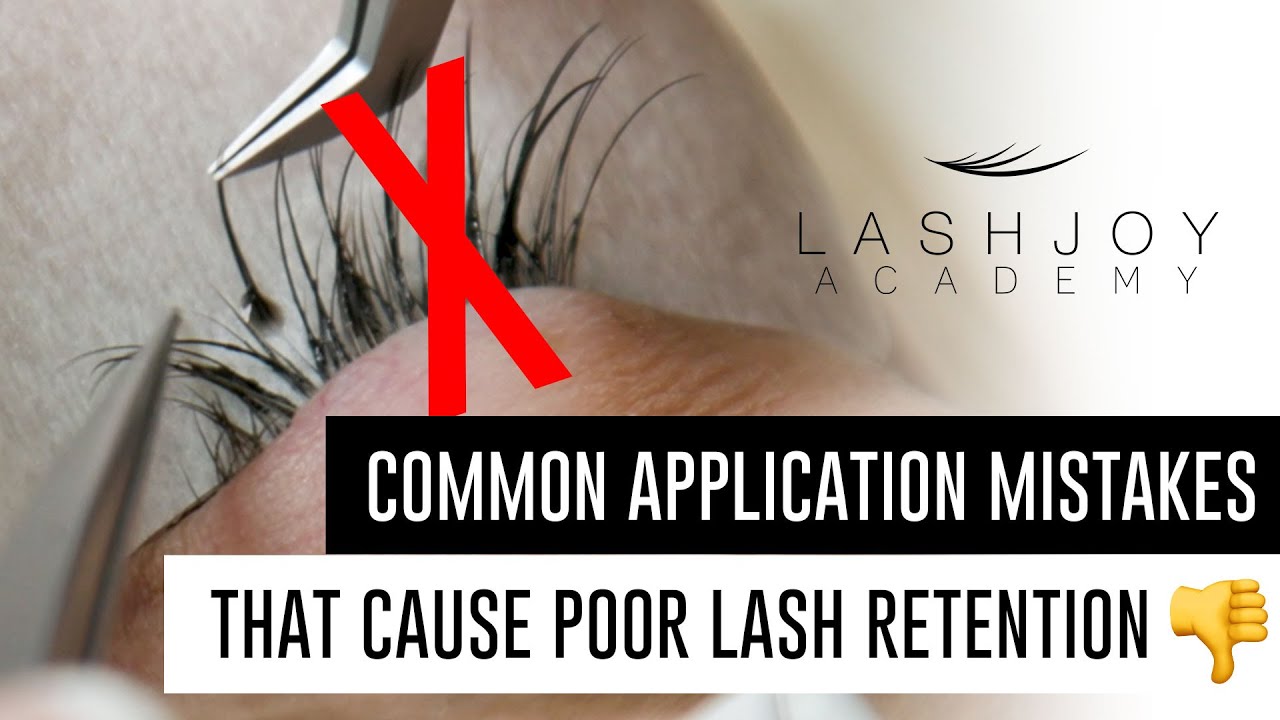
Common Application Mistakes That Cause Poor Lash Retention
1/1/2019
Mini Lash Lesson taken from the 90-minute masterclass the blueprint to becoming a lash master presented by internationally awarded Lash Educator and LashJoy CEO, Joy Crossingham at the 2018 Brisbane Hair and Beauty Expo.
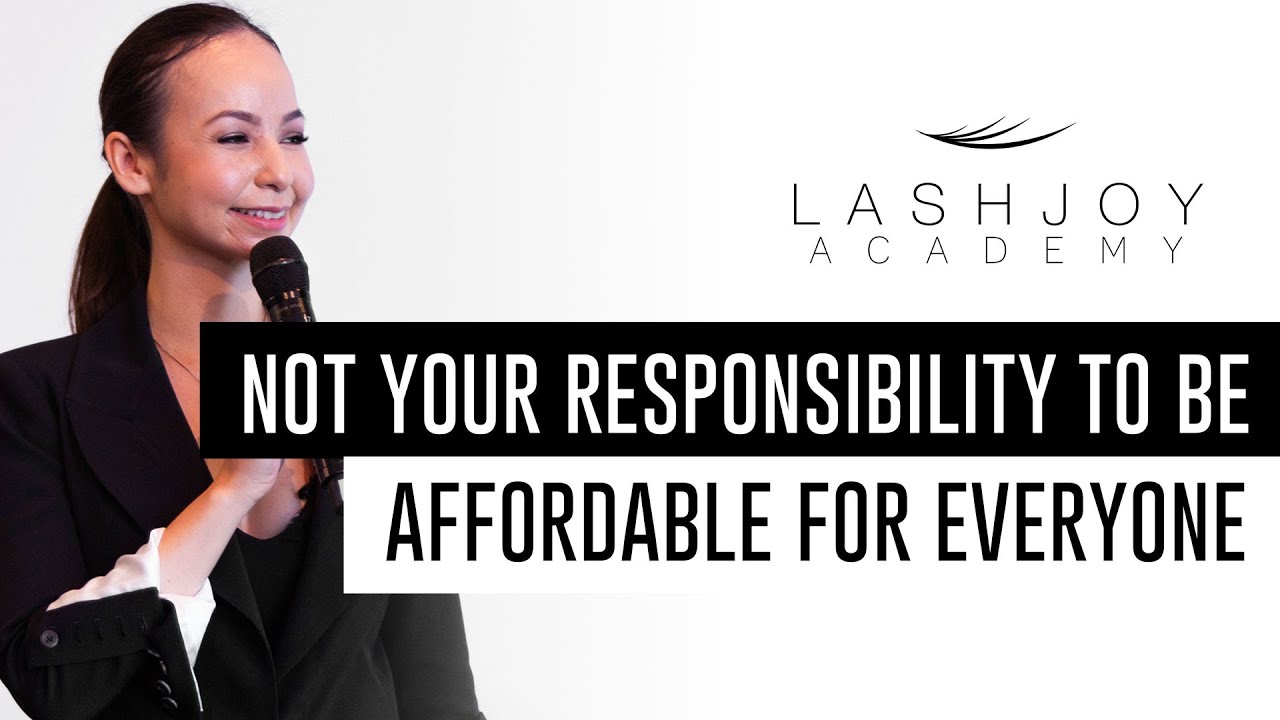
Not Your Responsibility to Be Affordable For Everyone
1/1/2020
Mini Lash Lesson taken from the 90-minute masterclass the blueprint to becoming a lash master presented by internationally awarded Lash Educator and LashJoy CEO, Joy Crossingham at the 2018 Brisbane Hair and Beauty Expo.
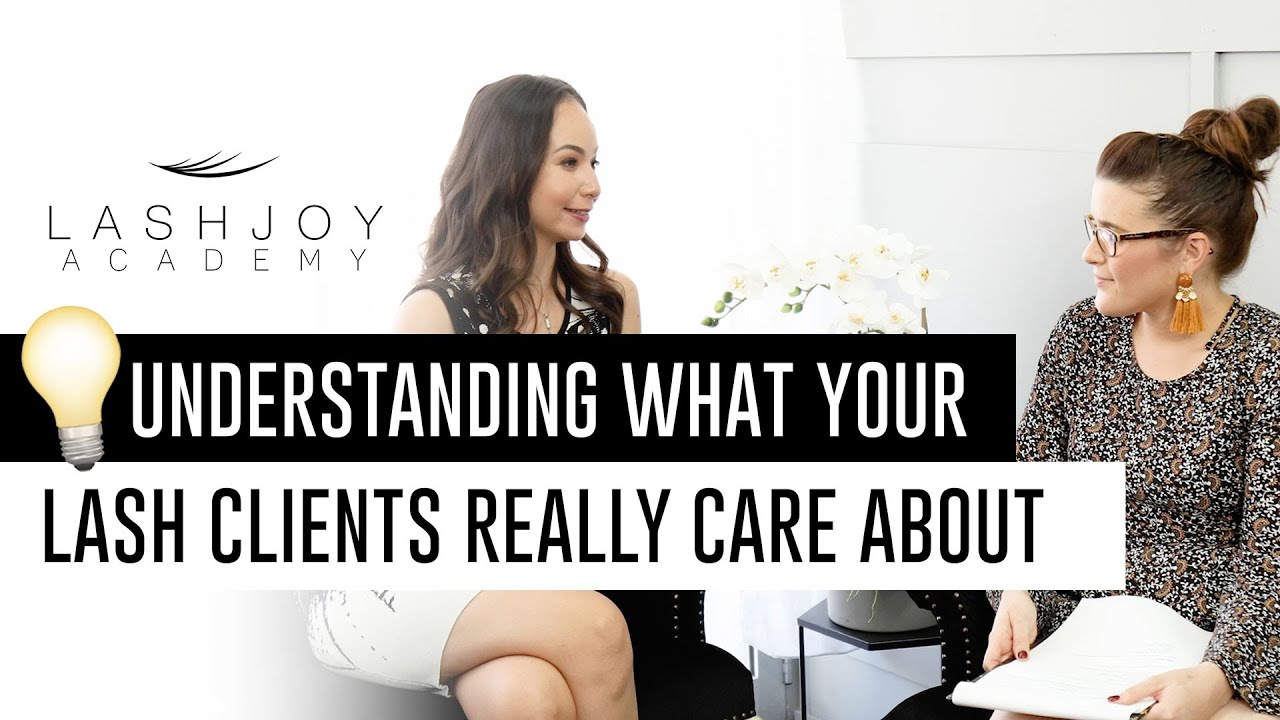
Understanding What Your Lash Clients Really Care About
1/1/2019
Taken from the 90-minute masterclass The Blueprint to Becoming a Lash Master presented by internationally awarded Lash Educator and LashJoy CEO, Joy Crossingham, at the 2018 Brisbane Hair and Beauty Expo, here's a mini lash lesson:
One common issue I often observe is Lash Stylists becoming excessively fixated on achieving perfection in their work, to the point where it negatively affects their business.
For instance, some Lash Stylists will only apply the most flawless and evenly spaced volume fans on their clients, discarding anything that doesn't meet their high standards. Consequently, their clients may end up with fewer lashes, and over time, they may become disappointed that their full sets aren't as voluminous as before.
But let me tell you, your clients don't appreciate those perfect volume fans as much as another Lash Stylist would. In reality, most clients wouldn't even notice the difference between a beautiful fan and an average one.
They're not waking up in the morning and exclaiming, Oh my goodness! Look at that stunning little fan! The base is so thin, and all the lashes are perfectly spaced! It's a work of art! (That's what we Lash Stylists would do.)
So, what do they really want?
After applying countless sets of lashes in our salon over the past decade or so, we've learned that 99% of clients want the same thing: plenty of lashes that look good and last a long time.
It's as simple as that.
Now, this isn't an invitation to deliver subpar work or use extensions that cause damage. It's simply a reminder to find a balance between striving for perfection and prioritizing what will keep your clients happy and coming back.
For volume sets, make sure the inner and outer edges have perfect fans since they don't have neighboring lashes to hide any flaws. However, in the middle of the eye, it's less crucial.
If the base is secure, the fan is of reasonable quality, and it won't harm the client's natural lashes... just go ahead and apply it.
There are times when aiming for nothing less than perfection is essential, such as in Lash Competitions and photo shoots.
Remember, your clients' satisfaction and loyalty matter most in the long run.
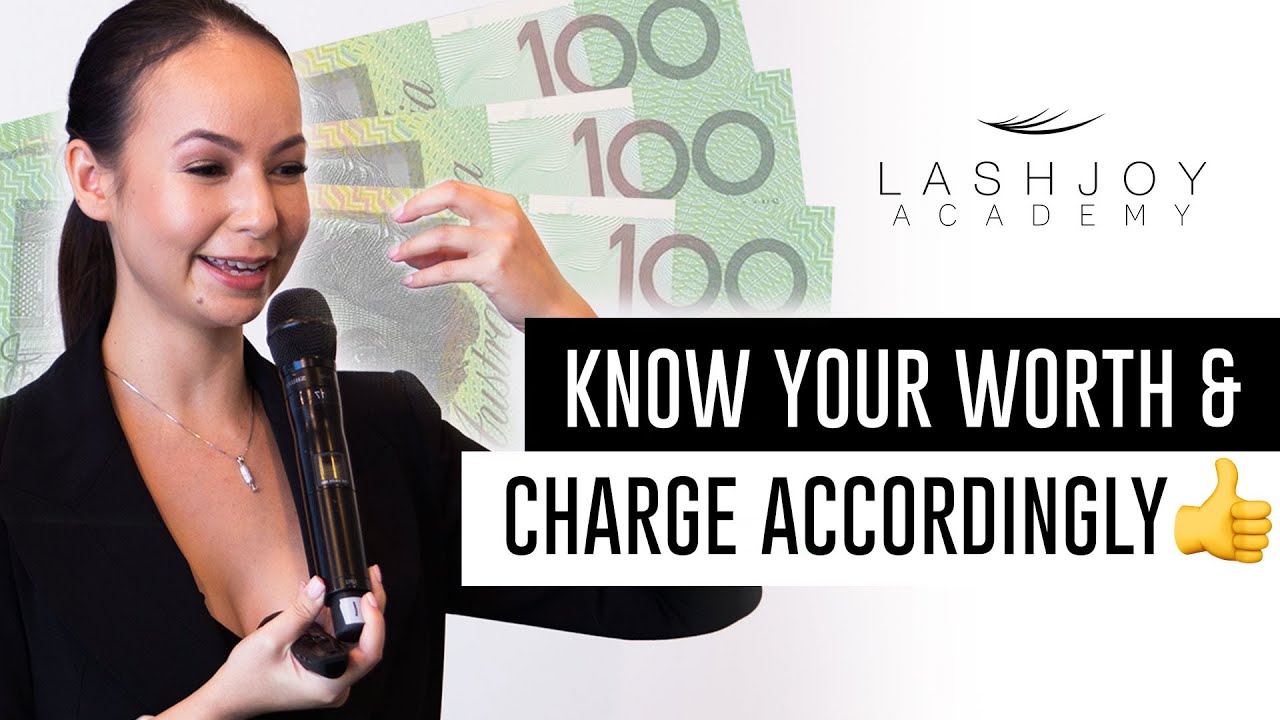
Lash Stylists, Know Your Worth and Charge Accordingly
1/1/2019
Mini Lash Lesson taken from the 90-minute masterclass the blueprint to becoming a lash master presented by internationally awarded Lash Educator and LashJoy CEO, Joy Crossingham at the 2018 Brisbane Hair and Beauty Expo.
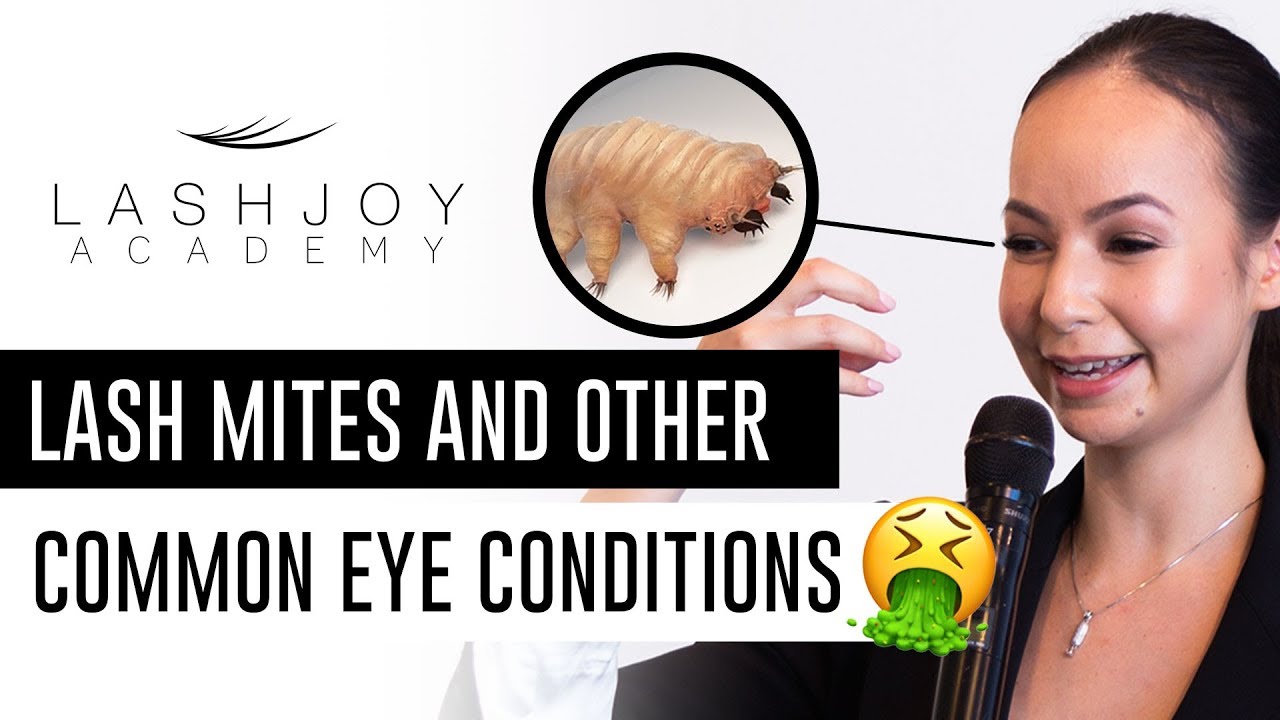
Must Watch! Lash Mites and Other Eye Conditions
1/1/2019
Mini Lash Lesson taken from the 90-minute masterclass the blueprint to becoming a lash master presented by internationally awarded Lash Educator and LashJoy CEO, Joy Crossingham at the 2018 Brisbane Hair and Beauty Expo.
Why You Should Never Wipe Excess Adhesive on The Eyepads
1/1/2019
Mini Lash Lesson taken from the 90-minute masterclass the blueprint to becoming a lash master presented by internationally awarded Lash Educator and LashJoy CEO, Joy Crossingham at the 2018 Brisbane Hair and Beauty Expo.
Lash Stylists, Stop Re-Using Lash Strips on Multiple Clients
1/1/2019
Mini Lash Lesson taken from the 90-minute masterclass the blueprint to becoming a lash master presented by internationally awarded Lash Educator and LashJoy CEO, Joy Crossingham at the 2018 Brisbane Hair and Beauty Expo.

Why I Don't Recommend Using Sensitive Lash Adhesives
1/1/2019
Mini Lash Lesson taken from the 90-minute masterclass the blueprint to becoming a lash master presented by internationally awarded Lash Educator and LashJoy CEO, Joy Crossingham at the 2018 Brisbane Hair and Beauty Expo.
How to Correctly Price Your Lash Refills
1/1/2019
Mini Lash Lesson taken from the 90-minute masterclass the blueprint to becoming a lash master presented by internationally awarded Lash Educator and LashJoy CEO, Joy Crossingham at the 2018 Brisbane Hair and Beauty Expo.

How to Conduct a Manual Lash Extension Removal
1/1/2021
In this LashJoy Academy tutorial, leading lash educator and LashJoy CEO Joy Crossingham demonstrates how to conduct a manual eyelash extension removal.

Using Microfoam Tape Instead of Eyepads
1/1/2022
In this LashJoy Academy tutorial, leading lash educator and LashJoy CEO Joy Crossingham demonstrates how to use Microfoam Tape instead of regular eyepads.
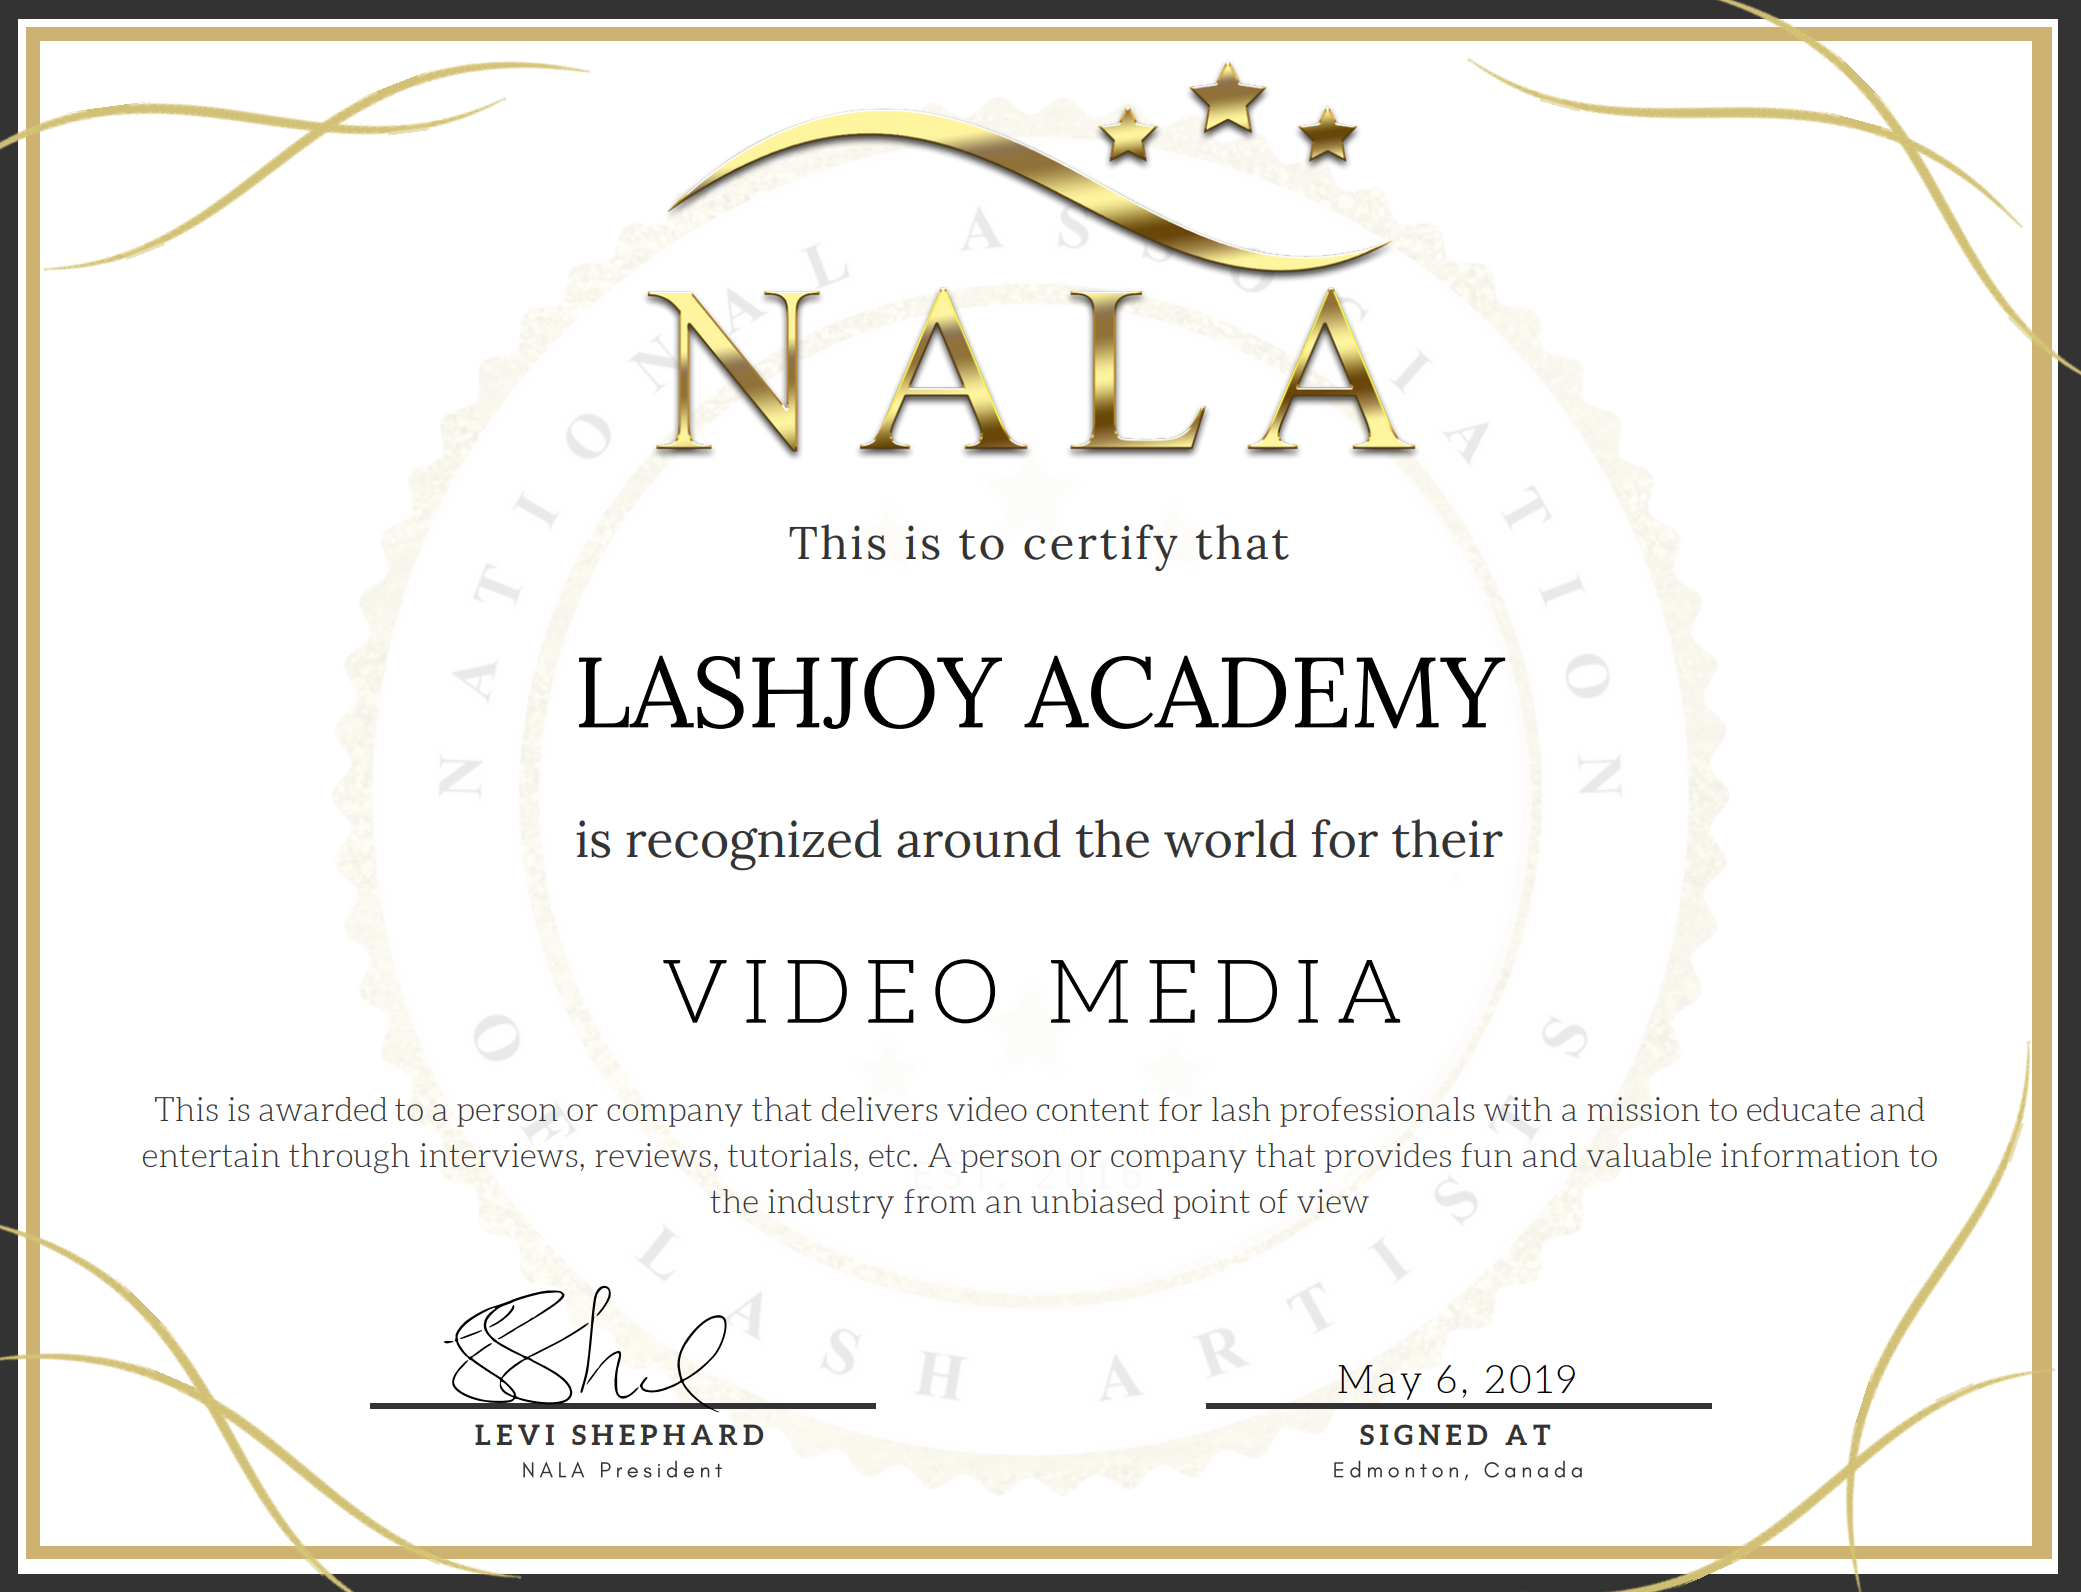
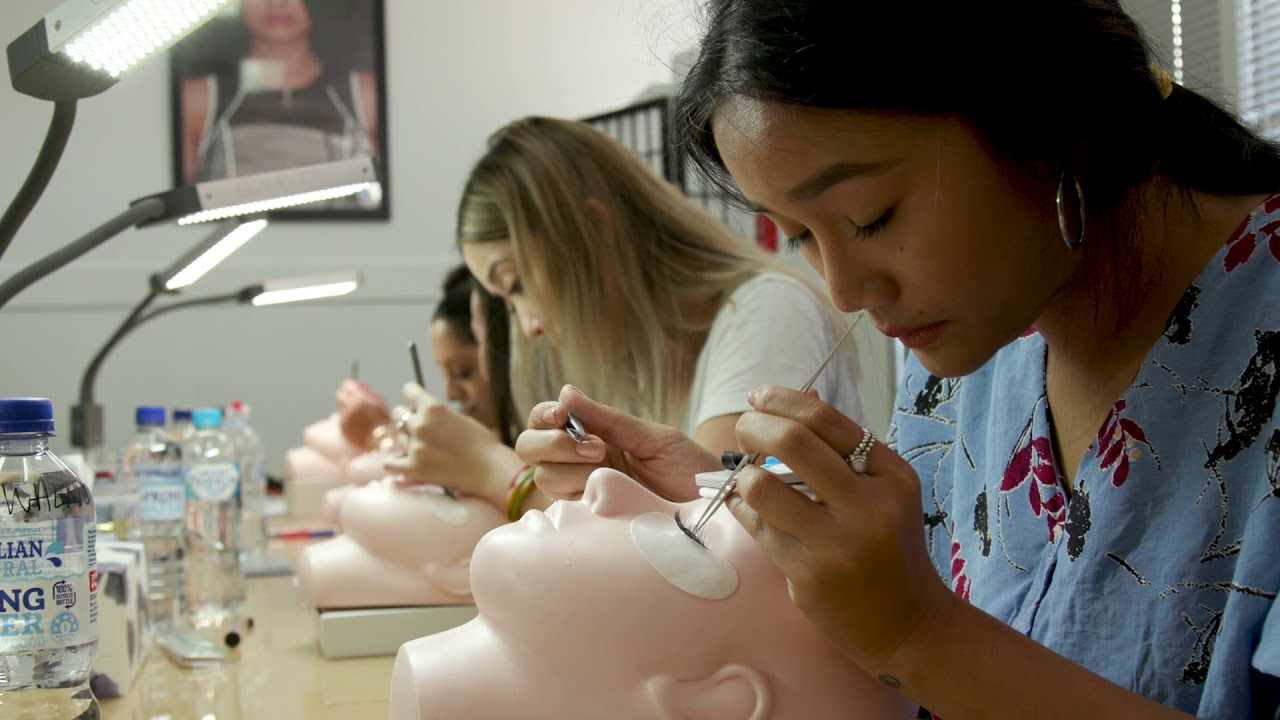
Level Up Your Skills With Our Award-Winning Lash Tutorials
As a two-time winner of the NALA International "Video Media" award, our YouTube channel has amassed over 21,000 subscribers and consistently achieves over 100,000 minutes of watch time per month from lash professionals worldwide just like you!